How to Use Pinterest Bulk Upload CSV: A Complete Field-by-Field Walkthrough

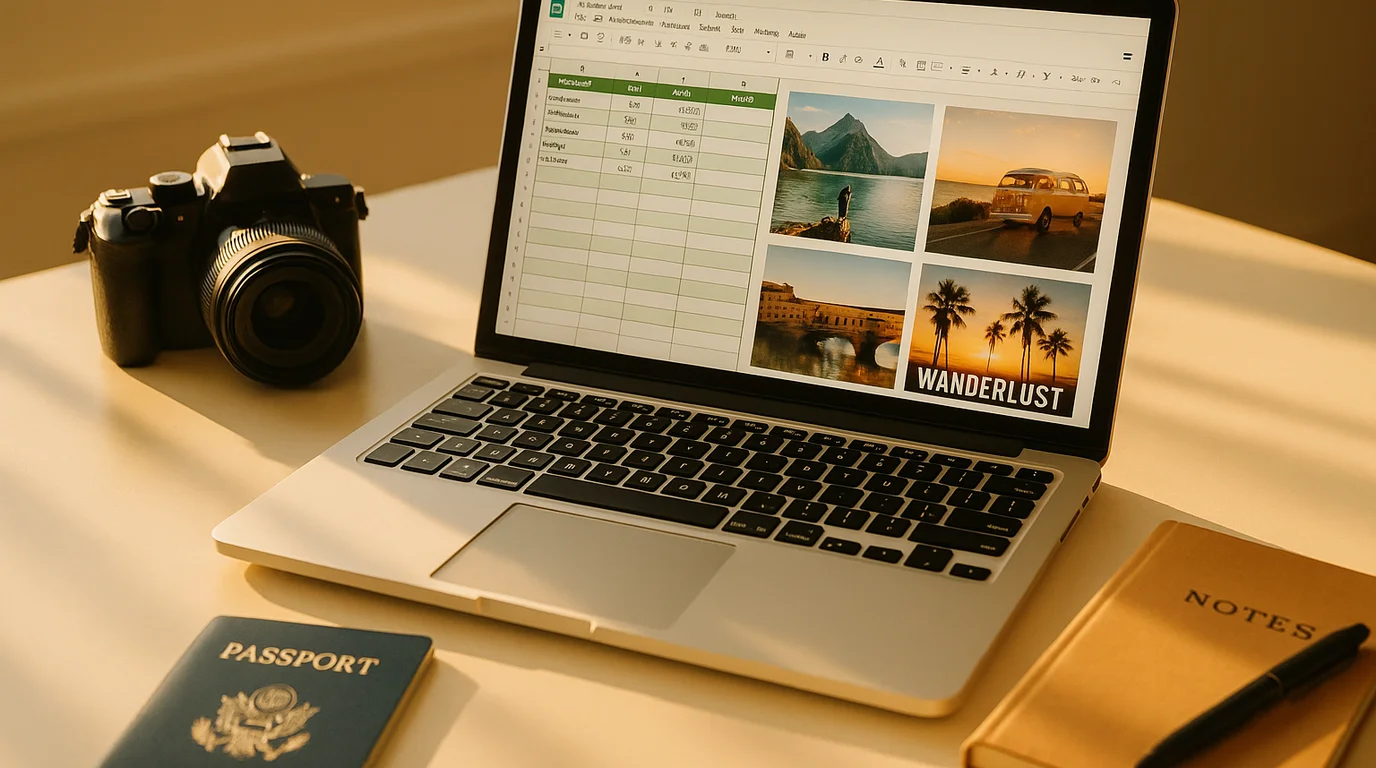
Pinterest's bulk upload CSV is the single highest-leverage tool for anyone publishing at scale — but only if every field is formatted correctly. One wrong column breaks the entire row, and Pinterest's error messages aren't always obvious about what went wrong.
I manage Pinterest accounts for three travel media properties, which means I'm regularly publishing 50–100 Pins per content cycle. Doing that one Pin at a time through the Pinterest interface isn't realistic. Bulk upload via CSV changed my workflow entirely — but it took a full afternoon of trial, error, and head-scratching to understand every field the first time. This walkthrough is what I wish existed then.
Before You Start: Prerequisites
Bulk upload requires a Pinterest Business account (free to set up). Personal accounts don't have access to the bulk upload feature. You'll also need your images already hosted at public URLs before you create the CSV — Pinterest fetches images from the URLs you provide, not from your local files.
The CSV Fields: What Goes Where
Media URL (required)
This is the publicly accessible URL of your Pin image. Pinterest will fetch this image when it processes the upload. The URL must be reachable without authentication — Dropbox shared links, private Google Drive links, and local file paths won't work.
The image should be at a 2:3 aspect ratio (ideally 1000×1500 or 1080×1620 pixels). Images smaller than 600px wide will be rejected. GetPinFast's media URL hosting generates public URLs automatically for any generated image, solving the hosting step entirely.
Title (required)
Your Pin title, up to 100 characters. This is your most important keyword placement — include your primary keyword naturally in the first 40 characters, since that's what shows in compressed feed views. Don't capitalize every word; sentence case reads more naturally and performs better on mobile.
Description
The Pin description, up to 500 characters. Write naturally, include your primary keyword within the first 100 characters, add 2–3 relevant hashtags at the end (not at the beginning), and describe what the destination page contains. Descriptions that answer "what will I find if I click this?" drive higher click-through rates.
Link (required for website traffic)
The destination URL for your Pin. This should point to the specific page that matches your Pin's content — your blog post, product page, or landing page. Generic homepage links underperform significantly. Pinterest checks that destination URLs are reachable; broken links cause the row to fail.
Board Name (required)
The exact name of the board where the Pin should go. This must match an existing board on your account exactly — including capitalization, punctuation, and spacing. If the board doesn't exist yet, create it before running the upload. A common error is a trailing space in the board name that causes a mismatch.
Keyword Tags
A list of keyword tags separated by commas. These are searchable keywords Pinterest associates with your Pin beyond the title and description. Include 3–8 specific keyword phrases (not single words) that your target audience would search for. Example: home office ideas, minimalist workspace, budget desk setup
Publish Date (optional)
Format: YYYY-MM-DD. Pins will go live on that date. Leave blank for immediate publishing. Scheduling up to 30 days ahead is supported. This field is particularly valuable for seasonal content — publish your summer recipe Pins in April, your Halloween content in August.
Common Errors and How to Fix Them
Pinterest's internal data shows that 23% of first-time bulk upload attempts fail due to inaccessible Media URLs, and another 18% fail due to board name mismatches. These two errors account for more than 40% of all bulk upload failures — and both are easily preventable by validating URLs and board names before running the upload.
Error: "Media URL could not be fetched"
Your image URL requires authentication, is broken, or the server is blocking Pinterest's crawler. Test by pasting the URL into an incognito browser window. If it doesn't load without being logged in, Pinterest can't access it either. Move images to a public CDN or use GetPinFast's hosted media URLs.
Error: "Board not found"
The board name in your CSV doesn't exactly match any board on your account. Check for extra spaces, different capitalization, or special characters. Pinterest is case-sensitive and space-sensitive for board matching.
Error: "URL is not valid"
Your destination link is returning an error code (404, 500, or redirecting to a spam warning page). Test each destination URL before uploading. Pinterest flags links that redirect through suspicious domains or that point to pages with thin content.
The Efficient Bulk Upload Workflow
The most time-efficient approach: use GetPinFast to generate all Pin titles, descriptions, keywords, and media URLs from your content, then export directly to a Pinterest-ready CSV. This eliminates the manual data entry for every field except the board name (which you set based on your board structure). What previously took 2–3 hours of spreadsheet work takes under 15 minutes.
Frequently Asked Questions
Pinterest bulk upload is a feature within Pinterest Business accounts that allows you to publish multiple Pins at once by uploading a CSV (spreadsheet) file. Each row in the CSV represents one Pin, and the columns contain the Pin's image URL, title, description, board name, destination link, and keyword tags. Instead of creating Pins one at a time through the Pinterest interface, you can prepare dozens or hundreds of Pins in a spreadsheet and upload them all in a single step.
Madison Clarke
I run a travel media business and use Pinterest to connect inspiration-driven searches with monetized destination content.